Hľadať ...
Úvodná stránka
Katedra
O nás
Promo video
EMT
Technické vybavenie
Pracovníci
Kvalita vzdelávania
Uplatnenie absolventov
Úspešní absolventi
Spolupráca
Sponzori a partneri
Fotogaléria
Kontakt
Pre študentov
Konzultačné hodiny
Harmonogram akademického roka
Bakalárske štúdium
Magisterské štúdium
Doktorandské štúdium
Záverečné práce
Mobility
Kariérne poradenstvo
Odborná prax
Pre uchádzačov
Štúdium prekladateľstva a tlmočníctva
Prijímacie konanie
Rigorózne konanie
Výskum
Oblasti výskumu
Projekty
Publikácie
Členstvo v organizáciách
Transterm
Bridge Journal
Výskum a výučba audiovizuálneho prekladu (AT Ö-SR 2021-05-15-002)
Podujatia
Podujatia
Tradícia a inovácia v translatologickom výskume
Výzva
Minulé ročníky
Jesenná škola audiovizuálneho prekladu
Translation, Interpreting and Culture
Translatológia na Ukrajine ako integrálna súčasť európskeho kontextu
Odkazy
Nachádzate sa tu:
Úvodná stránka
/
Katedra
/
Fotogaléria
/
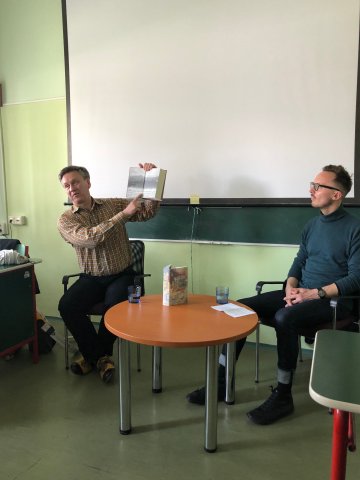
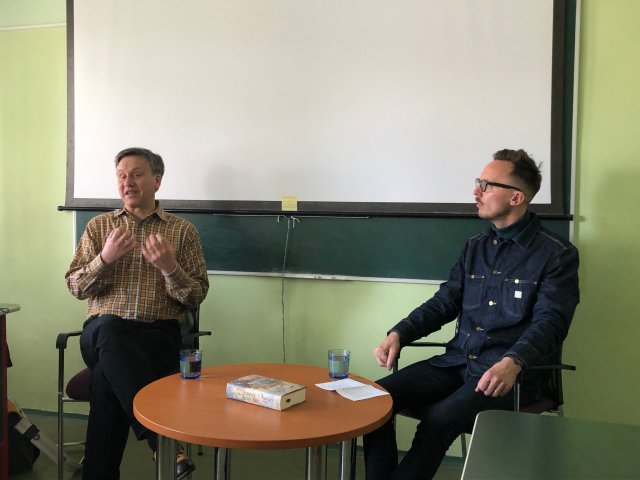
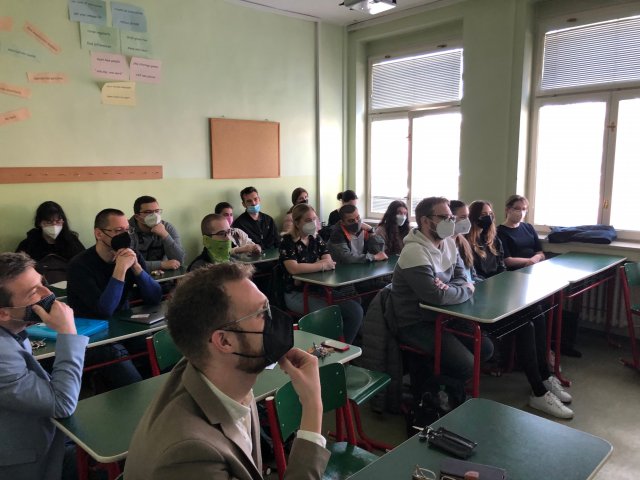
2022 | Diskusia s prekladateľmi Kraetschom a Hvoreckým
1
2
3
Ordering
Ordering Ascending
Ordering Descending
Title Ascending
Title Descending
Date Ascending
Date Descending
Rating Count Ascending
Rating Count Descending
Rating Ascending
Rating Descending
Hits Ascending
Hits Descending
Display Num
5
10
15
20
50
All
Powered by
Phoca Gallery
")
")